I have explored the elements of good and bad web design, but there is still much to be done in my journey of understanding the web and how it works. This week I took it back to the basics and created my first bare-bones HTML page from scratch and learned how to upload it to a server using an FTP program.
Understanding Basic HTML
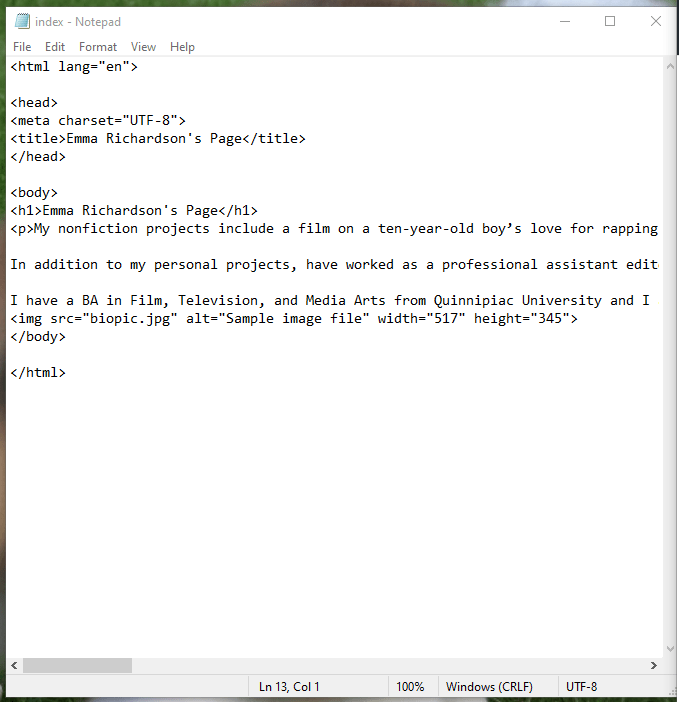
Fist things first, it is best to understand each element of a basic a HTML page in order to know what I am doing as I create my own. The basis for my first website is taken from this code:
<!DOCTYPE html>
<html lang=”en”>
<head>
<meta charset=”UTF-8″>
<title>Title of the document</title>
</head>
<body>
<h1>Input heading here</h1>
<p>Input first paragraph here.</p>
<img src=”filename_of_the_photo_you_are_using.jpg” alt=”Sample image file” width=”set size in pixels here” height=”set size in pixels here“>
</body>
</html>
First off, there is the Doctype and HTML language to tell the browser which type of HTML and language the code is in.
Next there is the head. In the head all of the metadata (a set of data that describes and gives information about other data) which is not seen on the page by a user is stored. It indicates the titles, styles, and scripts. Since this page is HTML only, the only piece of metadata I will be using for now it the title. The user will actually see this on the tab the page is open in. For my page, I will just call it “Emma Richardson’s Page.”


Now there is the body. This is where all of the visible content like headers, paragraphs, links, and images are stored.
The first tag in the body of this code is <h1>, which is a heading. The numbers go from 1-6, 1 being the highest and most important text in the hierarchy and 6 being the least. See an example of the differences between each heading tag here.
The next tag is a paragraph. This is rather self-explanatory – the text that goes between the opening and closing tag will be the text to appear on the page. Something to note is that the code will ignore any extra spaces or breaks within the tag, so you would have to close and start a new paragraph tag to make a new paragraph. If you want a space between the paragraphs, you need to add a horizontal rule <hr>.
This means that even though I put breaks in my text in the code, they will not register.

Now, with each section closed off between a <p> ad </p> and a <br> between each, there is a line break.


The final element to this basic html code is the picture. To keep things simple I kept the image in the same folder as the index.html file. That way, all I had to do was write the file name after the “img src=”. The “alt=” is the text that would be displayed in case the picture can’t load because of an error or slow connection.
The width and height is based on pixels. To find out what size the image is (so you don’t stretch it out) you right click the photo, go to properties, and select the “Details” tab.

Once all of the image specs are in the code, the simple page is finished!

Now it is time to make the website “live” using a FTP program.
Using FileZilla as an FTP
File Transfer Protocol (FTP) software is what allows you to upload your code to a sever so that a client can view the files from that server. This means that you will have to get a host. If you are working or in school your organization may let you host your site on their server – otherwise check out this tutorial on web hosting.
FileZilla is a straightforward (and free) way to easily upload and manage the files on your remote site. Watch this video to learn how to download FileZilla and use its basic functions:
The most difficult part of the process is making sure you are properly connected to your server. After creating a new site, I entered the host, encryption, logon type, user, and password. All of this information should be given to you by your host.

After that, all I had to do was right-click on my folder with my index.html and photo file and click “upload”. Now when I go to the domain with my username and filename, the page pops up!
http://mywebspace.quinnipiac.edu/elrichardson1/Emma/
And just like that, here it is. It still does not look like much, however. Check out my blog post explaining HTML Semantics where I add more elements to the page and explain how they were done along the way.

One response to “My First HTML Page: (Very) Basic HTML and FTP How-To”
[…] Google Search Console. Verifying the ownership of your site is as easy as downloading the file and using a FTP to upload it to your […]
LikeLike