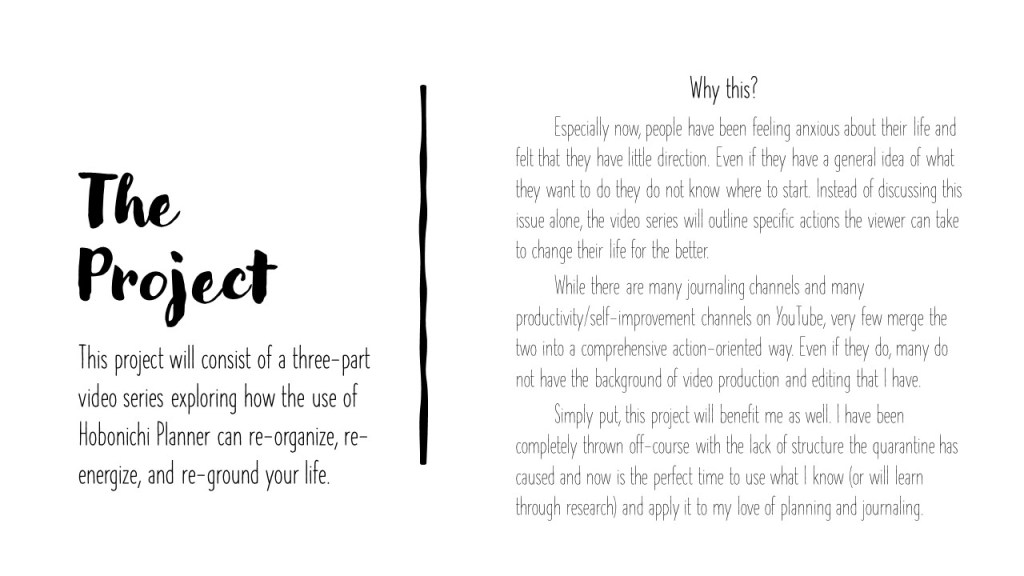
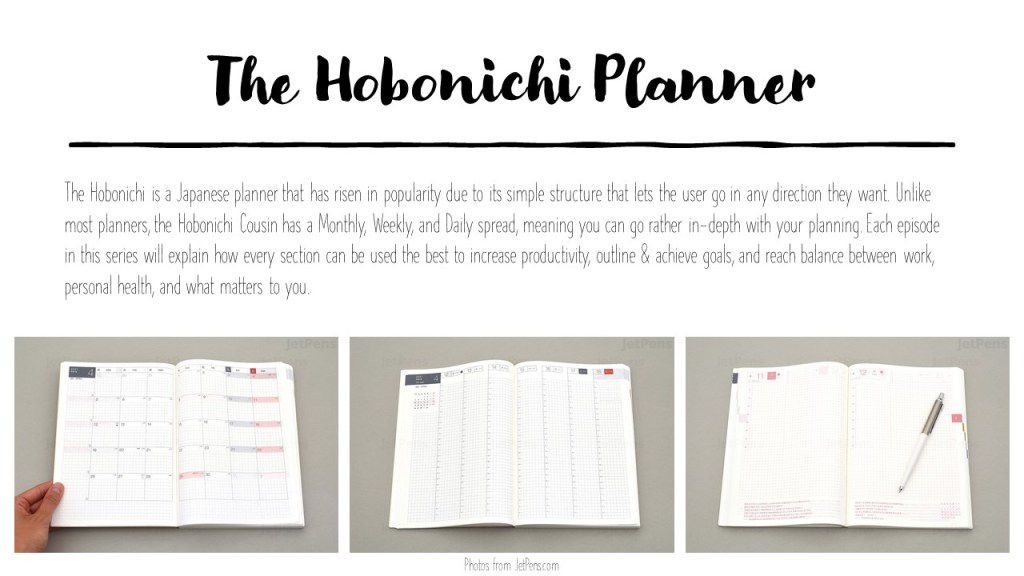
Over the course of seven weeks I planned, researched, and produced a three-part YouTube video series on how to use the Hobonichi Cousin planner for optimal productivity, creativity, and mental wellness.
Project Planning
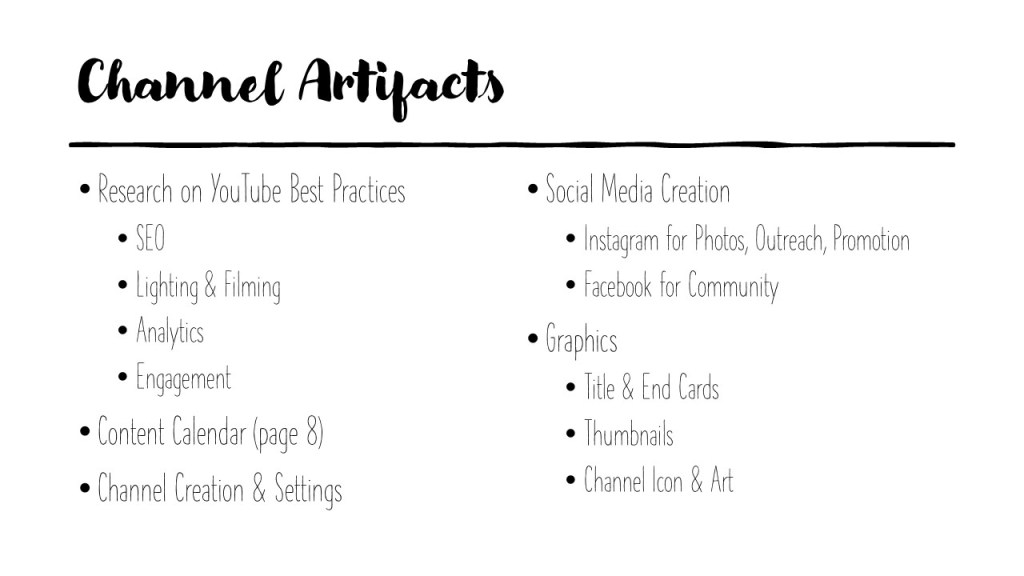
Before I even began the process of video creation, I needed to create a plan that I could stick to in order to make the project go as smooth and easy as possible. It began with a project proposal where I outlined the goal, artifacts, calendar, and episode breakdown.


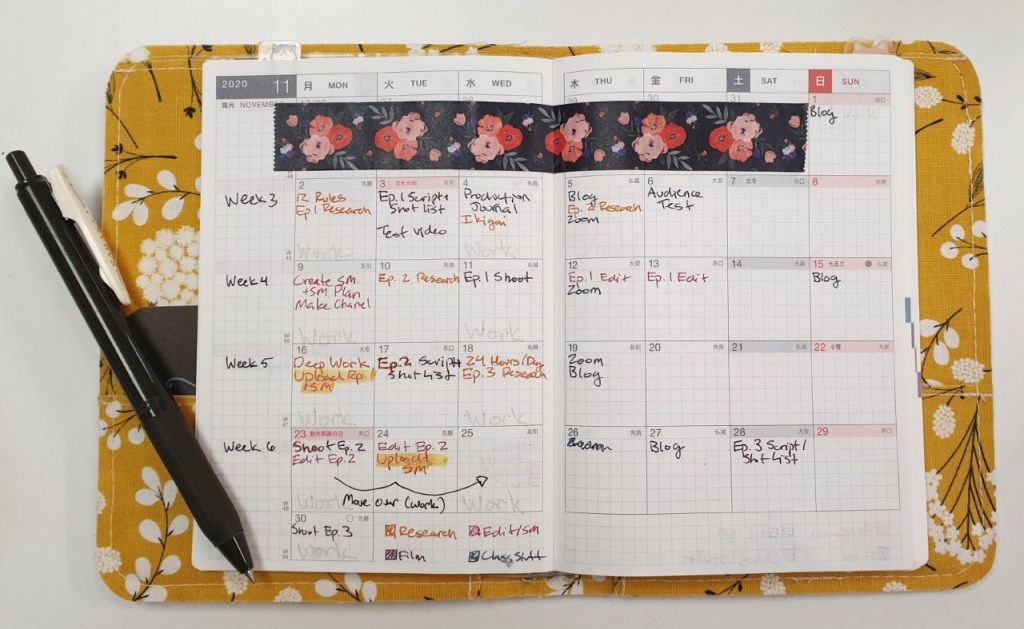
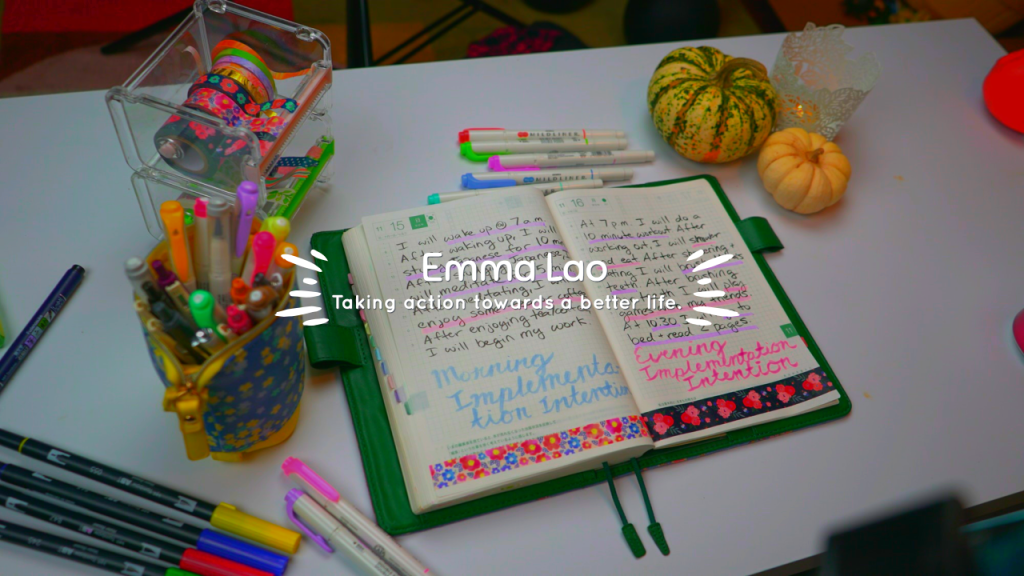
I then explored the possible project management systems that I could utilize to keep myself on track. I decided to use Trello since I could see the entire project and all the components at a glance while maintaining the perfect amount of depth that I needed. I am a fanatic for physical planners, so I made a plan in my spare Hobonichi as well.

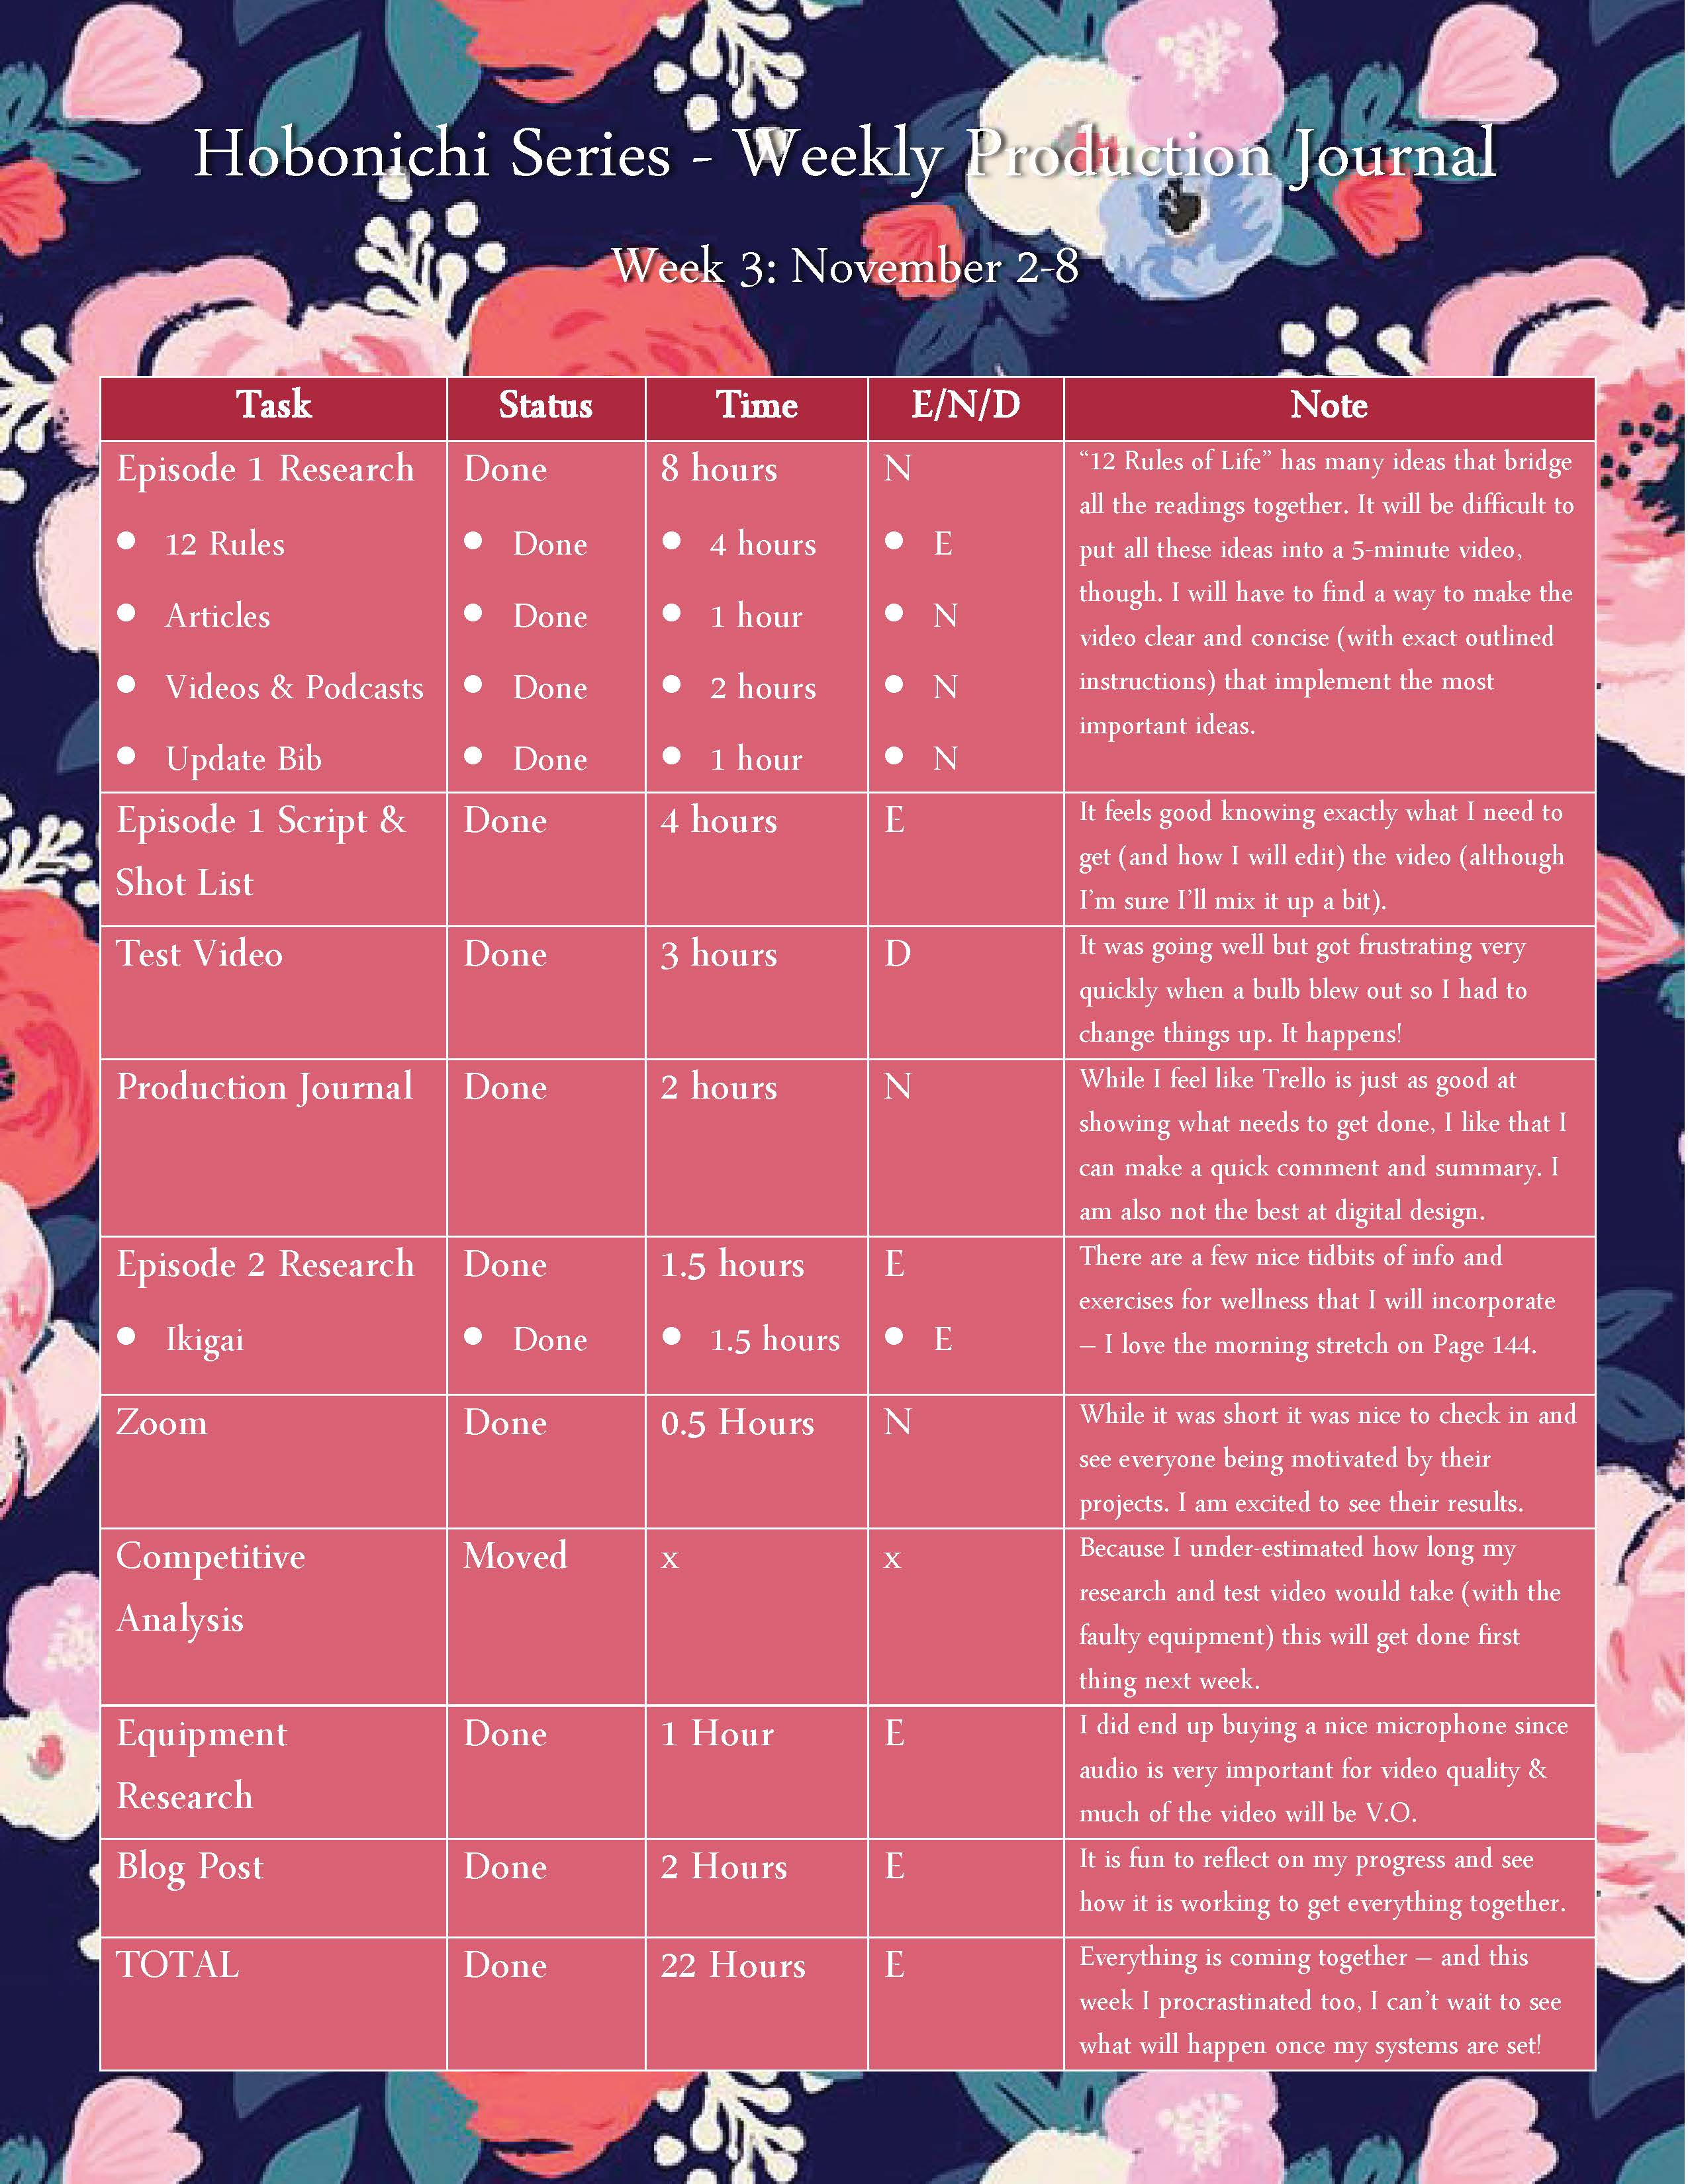
Next I set up a production journal so I could take stock of each task every week. It was important do do this step so that I could see how long tasks took and whether the task energized or drained me so I could improve the process as the project continued.
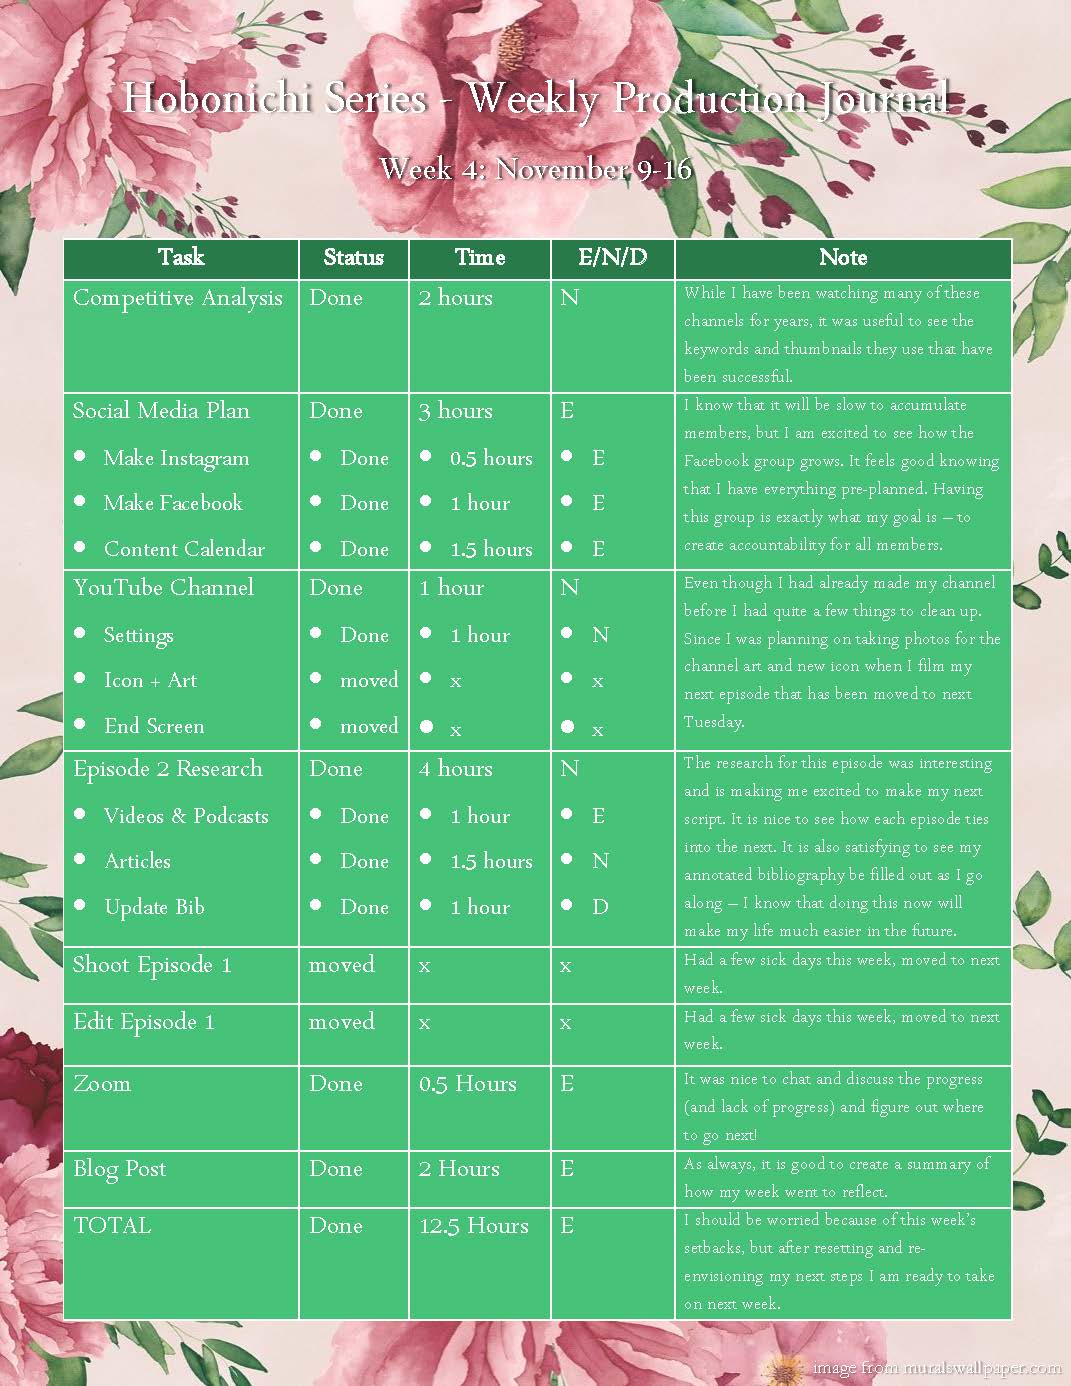


I had also created a content calendar to supplement my YouTube Channel. Since it took a couple of videos for people to begin following the other social media accounts, the schedule had changed slightly.
Research
Since my goal was to create a research-backed approach to planning and journaling, this was one of the most important parts of the project. In my plan I had dispersed the research throughout the weeks, focusing on medium research first then the three episodes. My final bibliography had over 35 sources listed that I utilized in the creation of my channel and the scripts for my videos.
Another important part of my research included a competitive analysis where I looked at five channels and their sub count, average and peak viewership, titles, descriptions and keywords, thumbnails, audience comments, strengths, weaknesses, opportunities, and threats.
Pre-Production
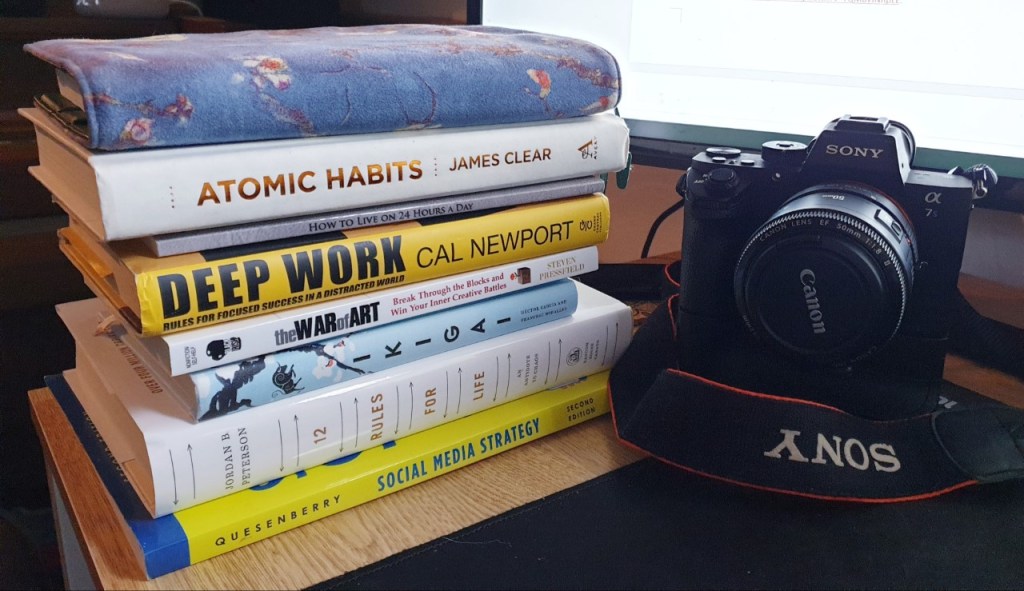
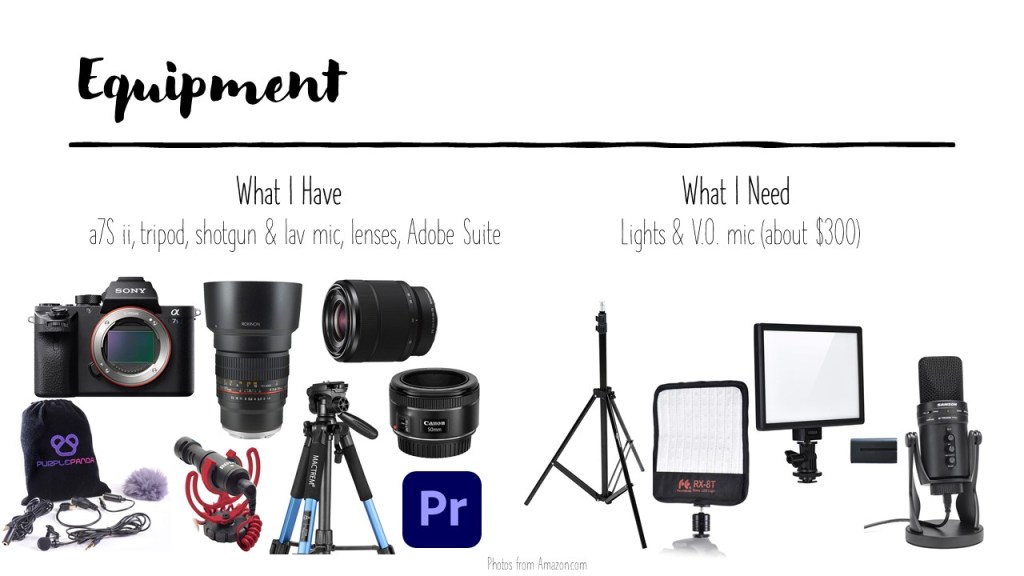
To prepare for the production of all of my videos, I first had to acquire the proper equipment. I already had my lovely a7S ii, three lenses, tripod, lav mic, and a PC that can handle Premiere Pro. After doing some research I concluded that I needed to up my lighting and sound quality so I bought an affordable lighting kit, a Blue Yeti, and some nice sound mixing headphones.
I also needed to upgrade my channel art and icon. Following a guide from my research, I used Photoshop and Snappa to make relevant and eye-catching images.
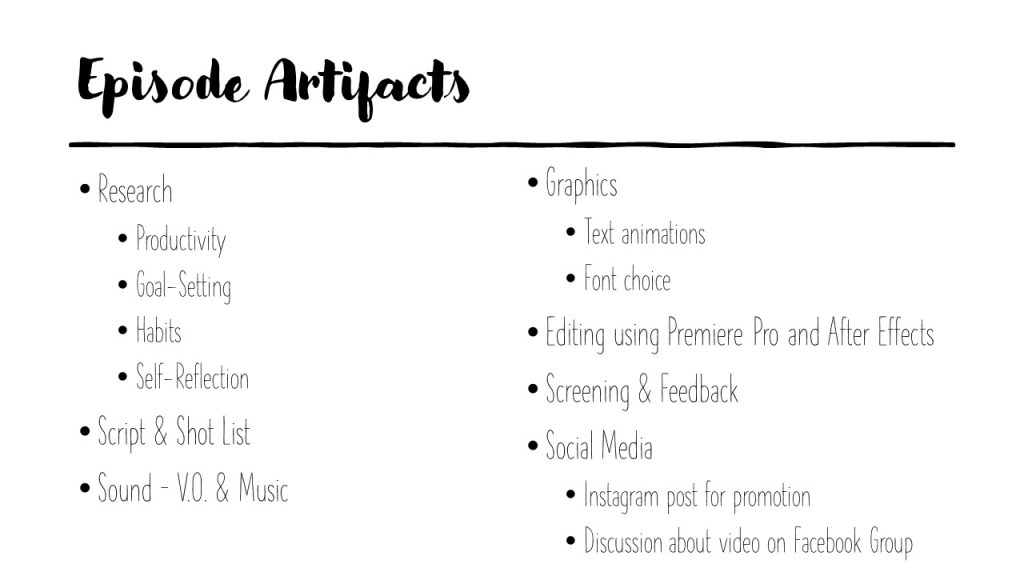
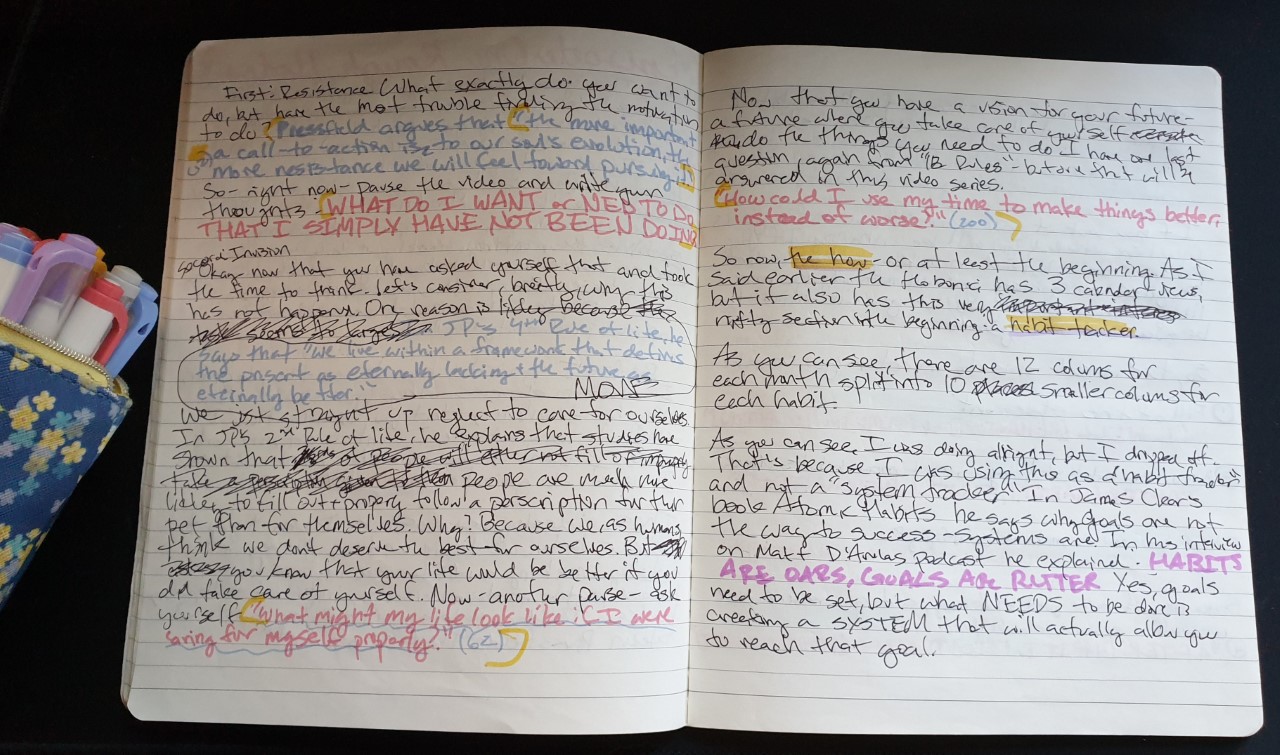
In preparation for each episode I made a script and shot list based on the research I conducted earlier. The process that worked best for me was to write a rough pass of the script on paper, transcribe that script into a digital copy (numbering each little beat), then create an accompanying document with a list of each shot. To make the documents as clear as possible, I color-coded for the type of shot it was – b-roll, journal, archival, or talking to camera.
Production & Post Production
After the research, script, and shot list were done for each episode now it was time to step up and take action! Before my first shoot I tested out my equipment – this ended up being very important since I had to replace a faulty bulb.

The process of filming was made much easier because I had planned every shot to a T. There were a couple of hurdles every once and a while regarding timing with my family and audio but overall the experience was fine.
The precise planning also made the process of editing much more smooth. After transferring the footage and creating proxies, I would start by organizing the timeline based on the script. After adding all of the footage I would to a voiceover and edit the audio with the Parametric Equalizer effect. After that I would do some basic color correction and add the text. I would also use music from the YouTube audio library as a final touch.

Next I would upload my video with a custom thumbnail and description. The thumbnails were all created using a still from the video in Photoshop – again I was following best practices that I had found in my research and the competitive analysis. Each description has a short entry with keywords, links to social media, and timestamps to create sections in the video. I would also upload to my Facebook Community page and Instagram to promote the video.
Analytics and Audience Reception
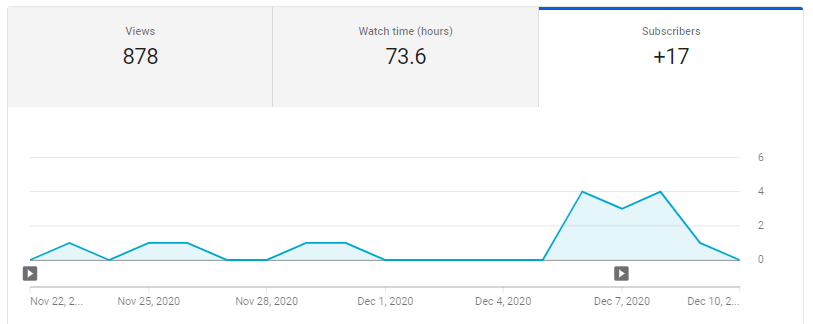
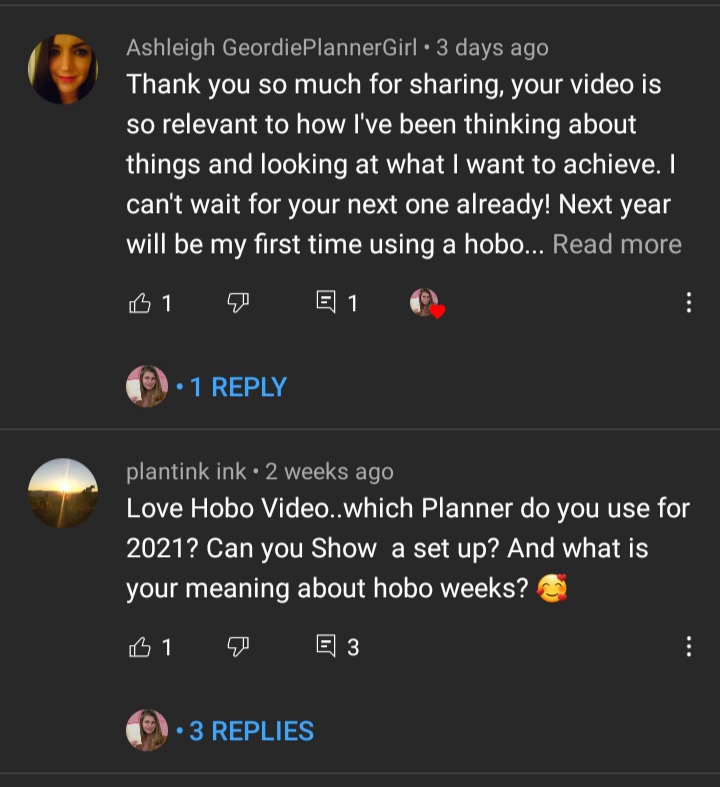
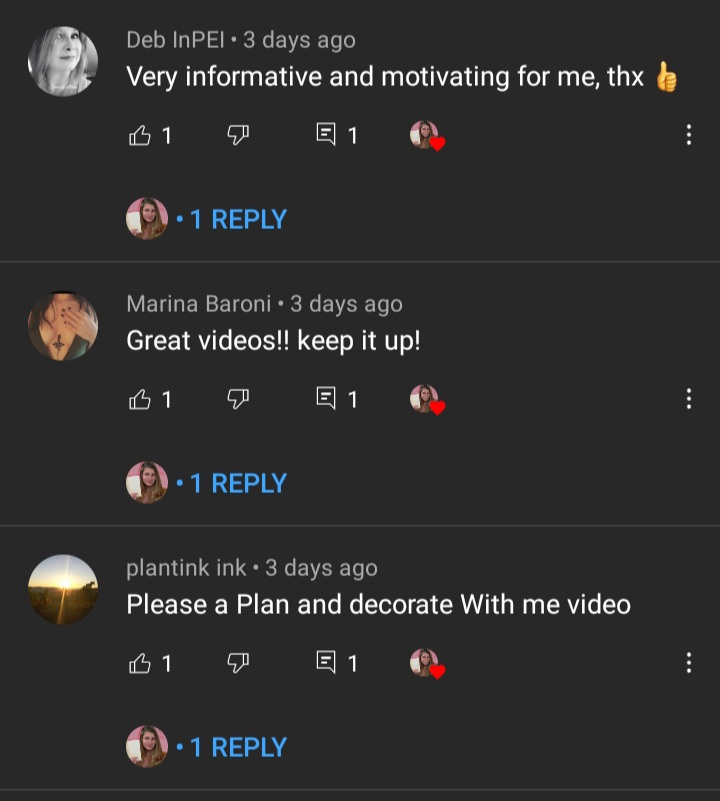
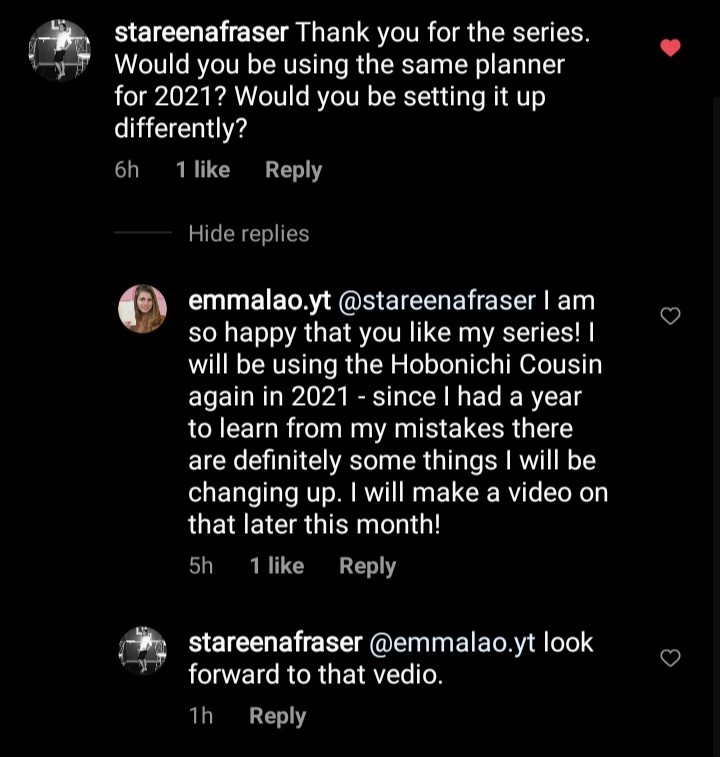
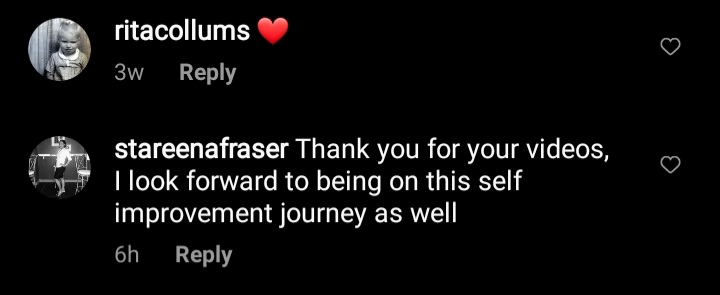
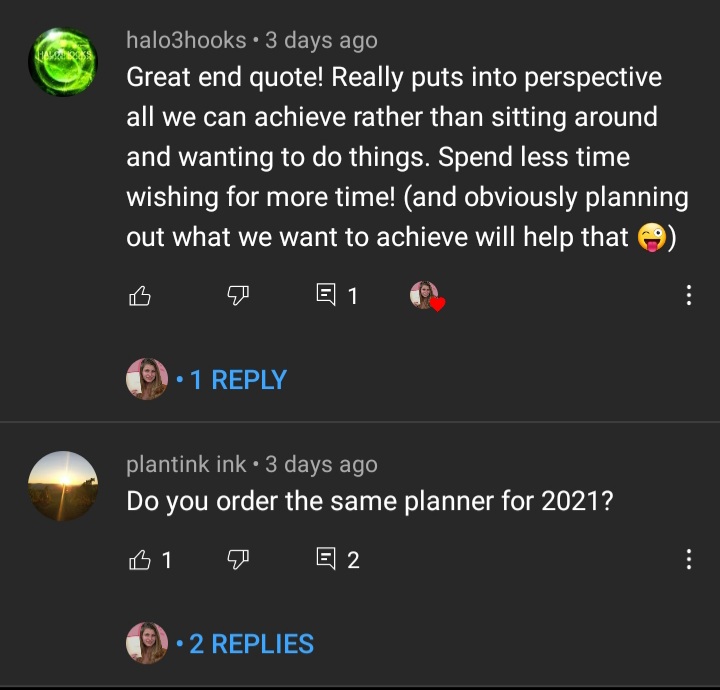
The final part (and the one that never ends) is taking not of the analytics and interacting with the community. While I was expecting some audience interaction, I was actually quite surprised about how much positive reception I have received. Even though the three videos (as of mid December 2020) have about 250 views total, there have been comments from 14 people, 35 likes, and 17 more subscribers. What I am happiest about, though, is the average view duration – keeping your audience engaged is the most difficult part of creating YouTube videos, and considering the past three videos are 8-12 minutes long 5 minutes is a great average.


The support from the comments has made it apparent to me as to how little vanity metrics matter. Even though I don’t have many views, a substantial portion of my audience is reacting and engaging with my content. Each comment has been very supportive and has inspired me to consider putting more time into continuing my channel.


Action Plan
While it took quite a bit of time and effort, I feel that it was all worth it and I am happier than I thought I would be with the result. If I continued to upload actively I think that my channel could get even more attention and reception. Over the next couple of months I will continue to upload videos about the planner – now that I know some good systems that I can continue to optimize it should take less time to create the video and leave more time to research and develop. I will continue to update my blog with the videos I upload and any major changes I make to my process.
