Images are vital to your web page – they compel the user, set the tone, and represent your brand. It is rare to find a web page without an image nowadays, and for a good reason. As explained in this CX Blog post, images draw attention to a page and trigger emotions that could push them to your call-to-action. However, as their last point states, it is important to make sure that your images are not slowing down your site.
The process of making images faster to load on the web is called image optimization. The basic premise of image optimization is making your image smaller by changing the format, dimensions, or quality.
There are a couple of reasons why image optimization should be considered when creating your web page:
- Loading time. While internet speeds are faster than ever it is important to consider the importance of immediacy in the digital space. This article by Shaun Anderson shares statistics, quotes, and graphs concerning website load times – pointing out that as many as “47 percent of consumers expect a web page to load in two seconds or less”.
- SEO improvements. Not only will longer loading times test the patience of users, but it will also lower your Google SEO rank. According to the CognitiveSEO article “How Page Speed Affects SEO & Google Rankings”, users are more likely to immediately or quickly leave a page that takes more than 3 seconds to load. In addition to that, Google may take a page’s speed into account directly for its ranking.
- User experience. In web design, user experience is top priority – so images and web pages that are difficult to work with are no good. The goal of every page should be to get the user to your call to action as quickly as possible, and long loading times are just another possible hurdle for that goal.
So now that we know the what and why of image optimization, it is time to jump into the how! I will explain the process using two programs: Adobe Photoshop and Optimizilla.
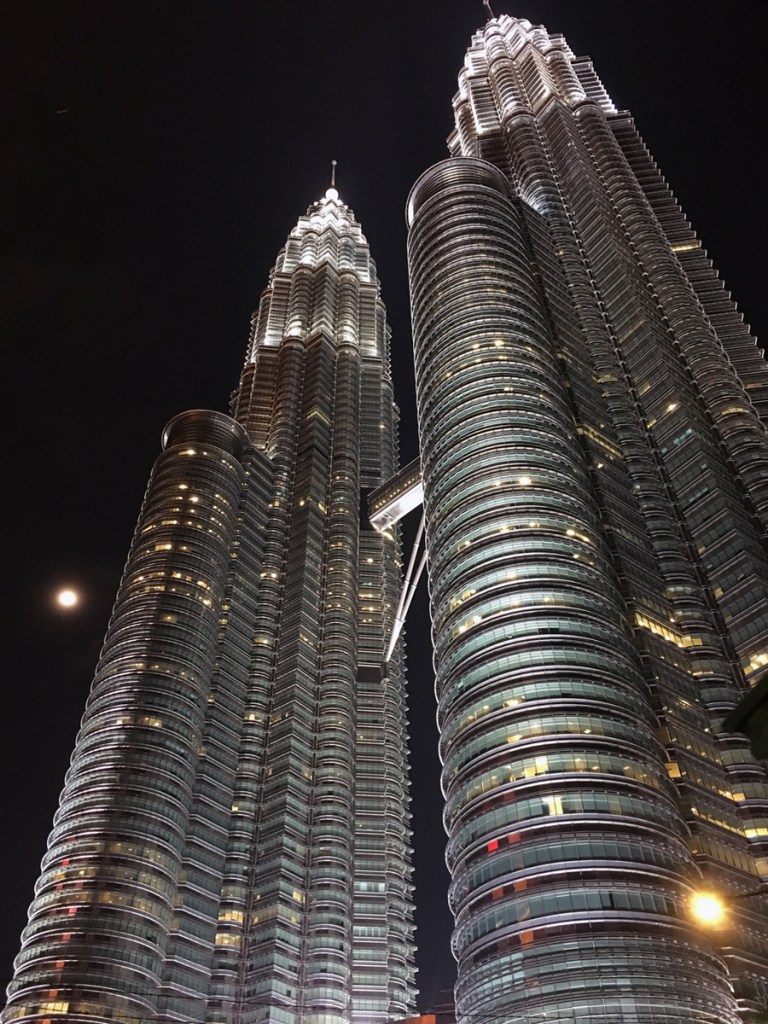
Here is the sample image I will be working with:

This is a large, high quality image. The dimensions are 900×1200 pixels with a resolution of 72 dpi. The file size (which is most important to consider in image optimization) is 960 KB.
Image Optimization in Photoshop
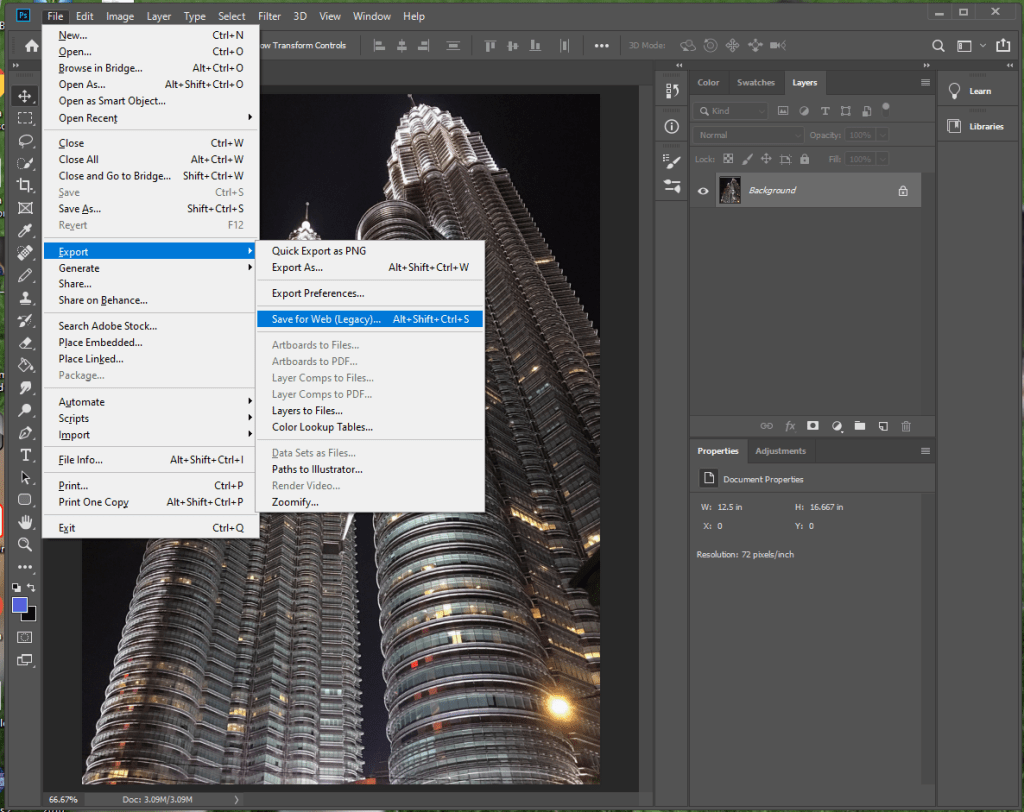
First open the image in Photoshop and select “File>Export>Save for Web…”.
Here you can select a preset. I will select JPEG Medium. The quality goes from 60 to 30. I will also make the image smaller using the “Image Size” section. Eliminating the metadata (information about the camera, date taken, aperture, ect.) is also an easy way to make the file size smaller without losing quality.

After exporting it the size is down to 82.8 KB. Since I sized down the resolution to 600×800, the dpi is actually up to 96. As you can see, the image is smaller but the difference is hard to see.

And here is the before and after in full size:
Before 
After
Image Optimization in Optimizilla
Optimizilla is a free alternative where you can easily optimize your image.
It is as simple as uploading the image then using the slider to determine how much quality you want to sacrifice for the sake of file size.
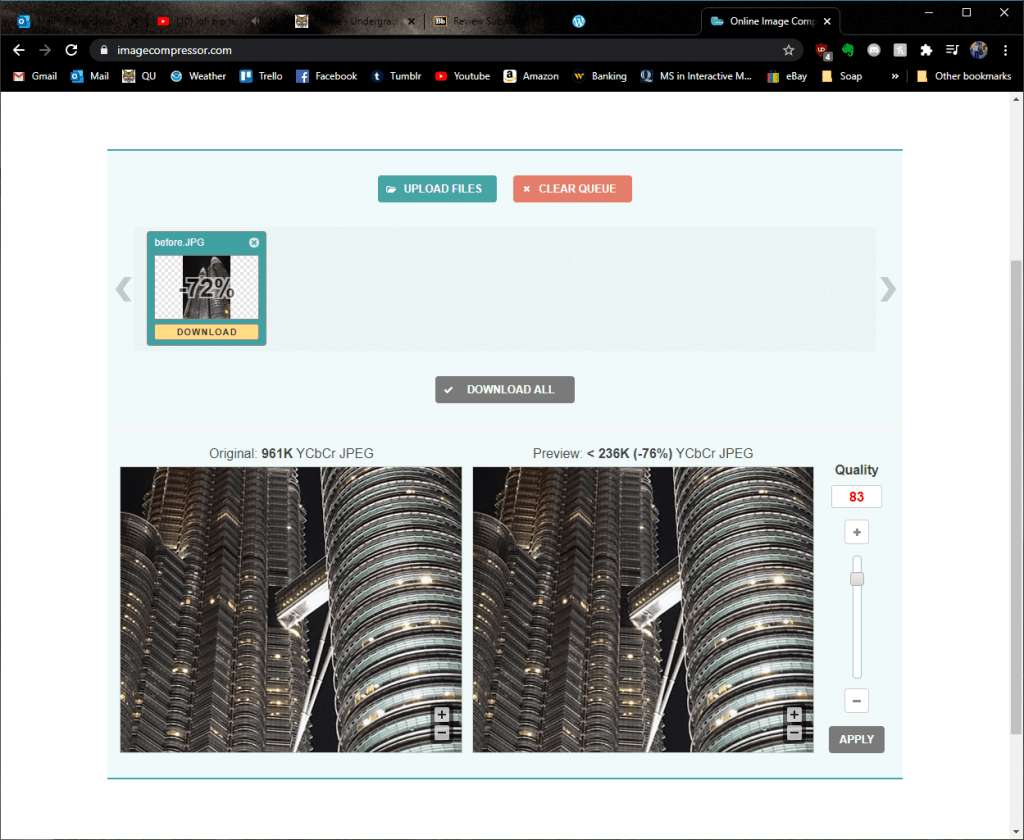
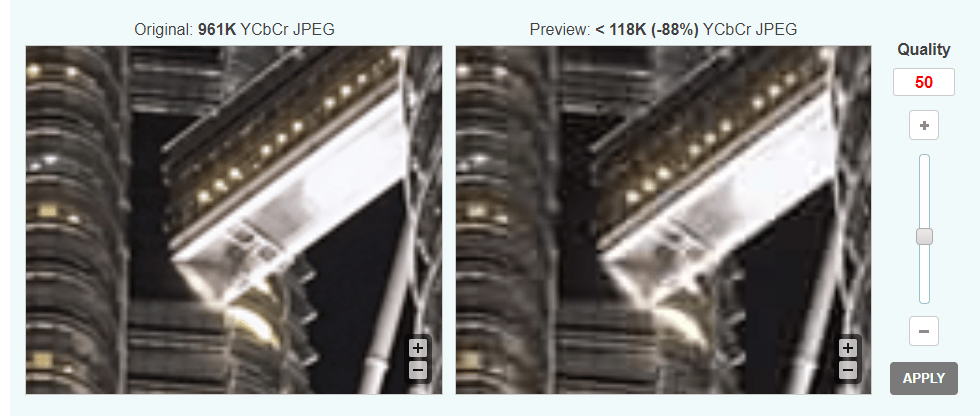
Even when I lowered the quality to 50% the difference is nominal, especially when you consider how much smaller the image size is.
And here is the before and after in full view:

Before 
After
Image Optimization in Adobe Illustrator
Another way to lower your image size is by converting your image into a vector file. Vector files are generally much smaller and can scale to any size since it is not pixel-based like JPEGs and other raster image types.
Keep in mind, however, that there are stylistic differences between a JPEG and an SVG. Typically vectors are used for icons, logos, and symbols since they are much more simple, so this conversion will not always work on an image if you want to keep the same picture style. Also it is not easy to make a highly detailed image into a small SVG file, as you will see with my example.
Nonetheless, I will explain how to change an image to a vector using Adobe Illustrator.
First, open the image in Illustrator then go to Object>Image Trace>Make. Be sure that the image is selected first!
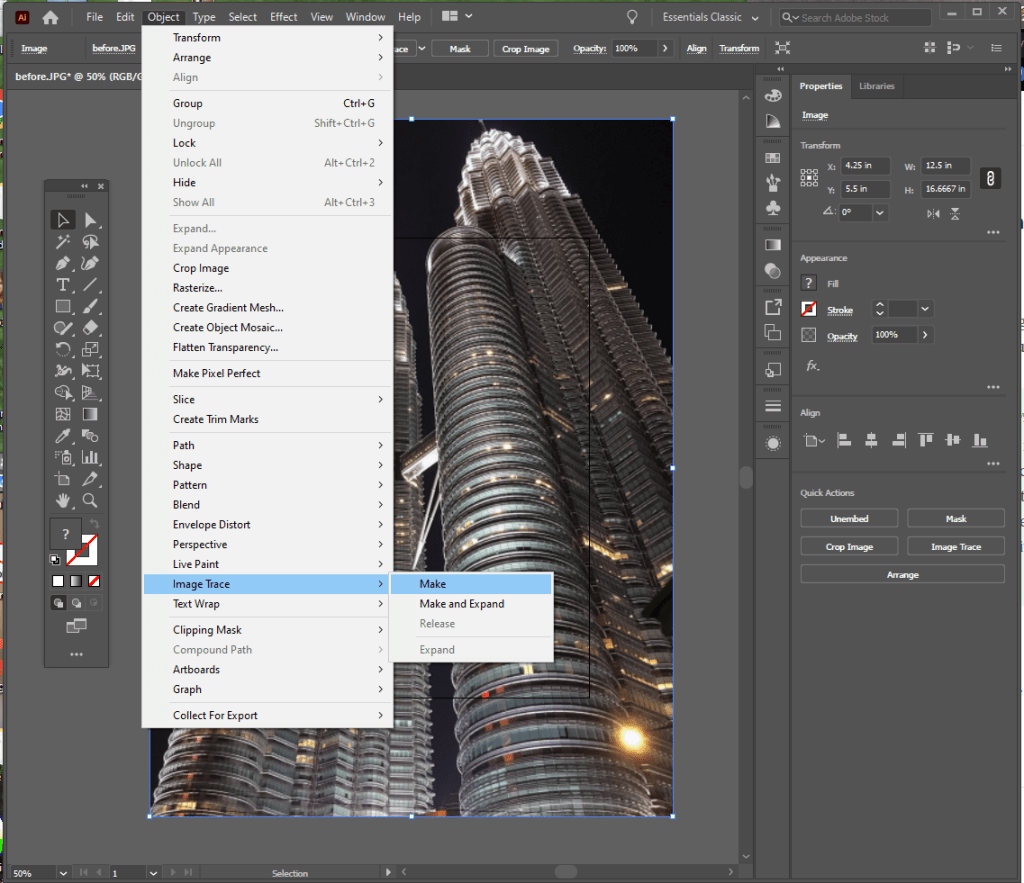
Now you can select from various presets to change it from that scary-looking black and white image. I chose 16 colors for this one.
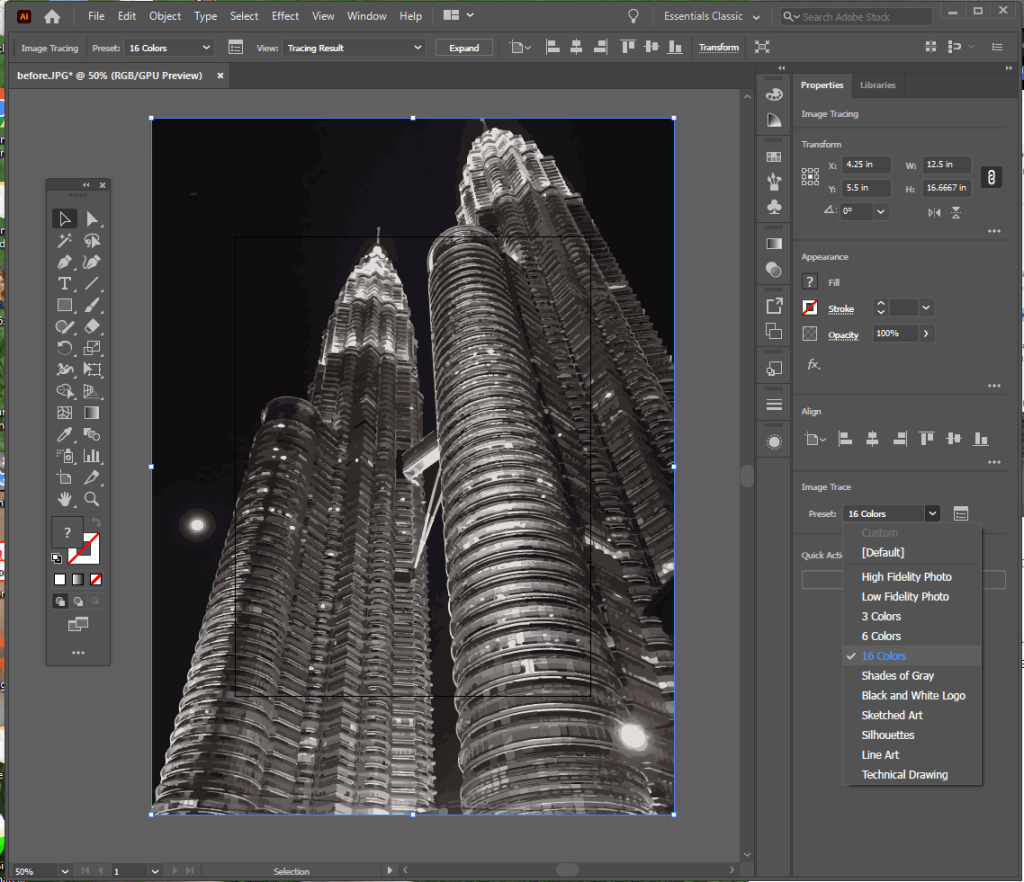
Another option which looks closer to the original is High Fidelity Photo, which is nice – but it ends up being much bigger than the original file.
The exported SVG is the Low Fidelity Photo Option, and while it is about 400,000 Bytes bigger it is now scaleable. If the image were simpler it could very well make the file size much smaller – but this goes to show how detailed images are not the best for SVG files. While I cannot upload SVG files on WordPress, you can check it out here.
Now that you see how much of a difference image optimization can make in such little time, I hope that you keep it in mind as you design your pages in the future. Follow my blog to keep updated with more tips as I learn the ins and outs of web technologies!

2 responses to “Image Optimization 101: What, Why, and How”
[…] To make a photo gallery just search for the block, select the type you want, then upload the images. Don’t forget the importance of image optimization! […]
LikeLike
[…] your page is valuable to its users, the experience of using it must also be good. Make sure that images are optimized and that they have alt text – bots will be able to better understand what the image is trying […]
LikeLike